Below are the general steps to follow to import CSV files of data into Accelerus.
These are not the steps to use for the following imports, all of which have their own, separate procedures:
The steps are:
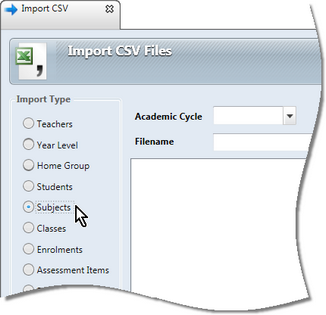
| • | Go File > Import > CSV Files to open the Import CSV Files window. |
| • | Click the option button for the type of import you want to undertake, ensuring that you import your data in the correct order. |
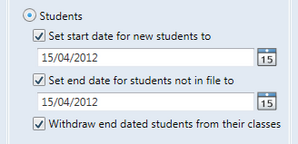
| ➢ | Click the checkbox to set the start date for any new students found in the file, entering or selecting the date. |
| ➢ | If the file you are importing contains a full and current list of students: |
| ® | Click the checkbox to set as end date for any students not found in the file. |
| ® | Check the box to withdraw the students who have left from any classes in the current academic cycles. |
| • | If importing a subject CSV file: |
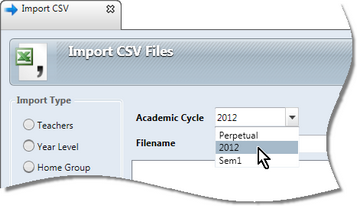
| ➢ | If your subjects belong to more than one cycle of the current selected, ensure you have a separate CSV file for each cycle's subjects. |
For example, if you the currently selected cycles are Sem2, 2011, subjects could potentially belong to either Sem2 or 2011. If some belong to one and the rest to the other cycle, you need two CSV files of subjects.
| ➢ | Enter the full path and name of the CSV file containing the data. |
OR
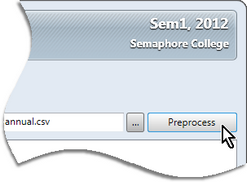
| ➢ | Click the Browse button to select the required file from the Select window that is displayed. |
OR
| ➢ | Accept the default file, if displayed, this being the last imported CSV file for the import type. |
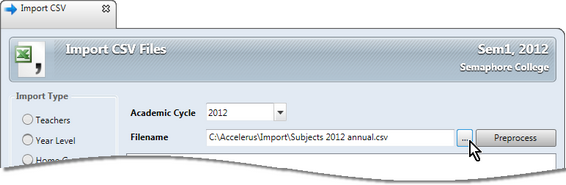
| • | Click the Preprocess button and wait while the preprocess phase compares the data in the CSV file with that in the database. |
| ➢ | Carefully check the issues, errors and warnings that are reported, clicking open the issue headers to check the details of the individual records. |
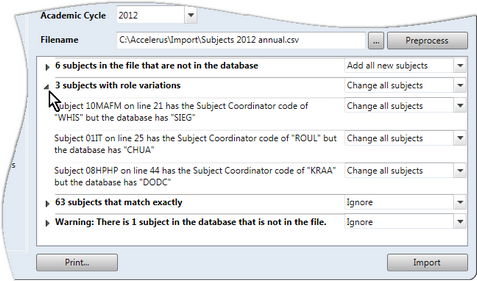
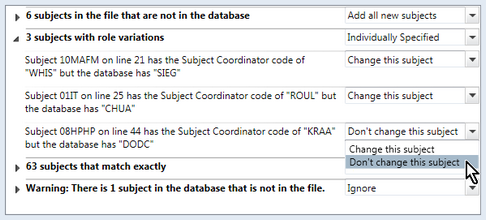
| ➢ | If required, for any issue heading, in the Action field, click the dropdown arrow to choose another option to the default, to apply to all records under that header. |
OR
| ➢ | Change the action for any individual record listed, in which case the action for the heading's action will change to Individually Specified. |

|
Errors that prevent the data from being imported must be fixed in the CSV file and the preprocess phase rerun. In fact, it is highly recommended that all reported issues are fixed in the CSV file rather than select many different actions as a means to fixing the data. The exception to this is the actions where there are multiple valid possibilities, as in the enrolment options, where you need to inform the import process of your required action. Even for these, however, it may be best to fix any anomalies manually, using the enrolment facilities in the student window or in the class window.
|
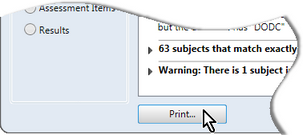
| ➢ | If you want a print out of particular issues, eg to check out or fix any anomalies or unexpected issues: |
| ® | Close any issue headings you don't need details of. |
| ® | Open the issue headings whose details you want to print. |
| • | If there are errors, return to the CSV file and fix the problems therein, before coming back to the Import CSV Files window and preprocessing the file again. |
| • | Continue preprocessing and fixing data in the CSV file until the data can be imported without problems. |
|
Do not proceed with the import unless you have fixed all errors and know exactly why different issues arose. If you proceed, the errors are likely to be compounded as you import further CSV files. For example, errors in the teacher file may impinge on all other imports, those in a subject file on classes and enrolments, and so forth.
|
| • | Click the Import button. |

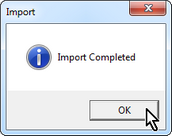
| • | Wait while the data is imported, clicking OK at the completion message. |