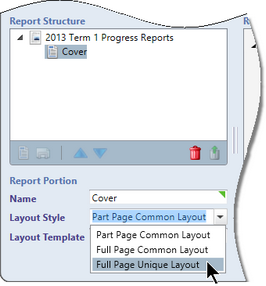
If, in any portion, there is any text that is to appear in particular locations in the report, that is not subject-specific, eg a table header row, a signatures section, a front page, etc, create general templates, as required:
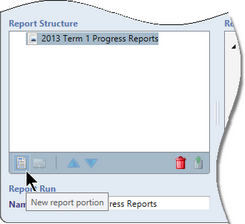
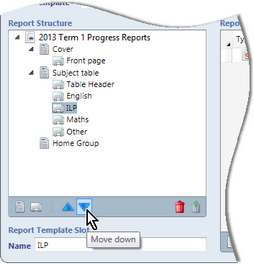
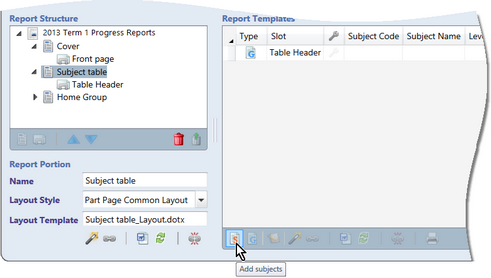
| • | Click the correct portion and slot in the Report Structure pane. |
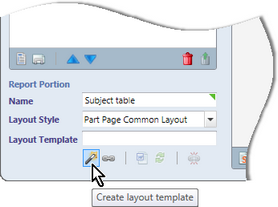
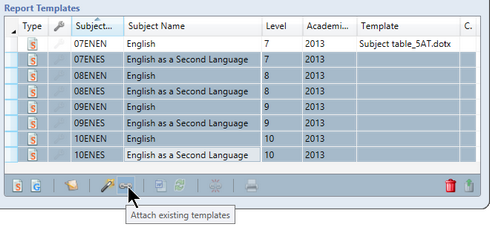
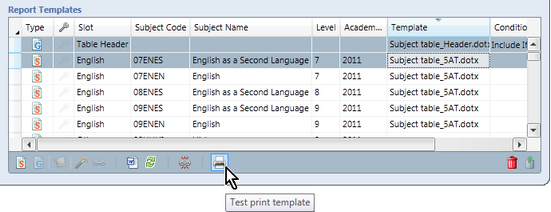
| • | Click the Add general report template icon at the bottom of the Report Templates table. |
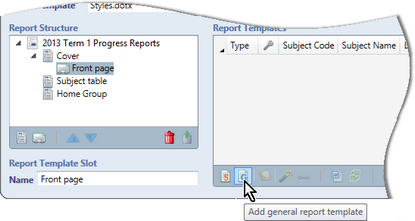
A new row will appear for the new general template in the Report Templates table.
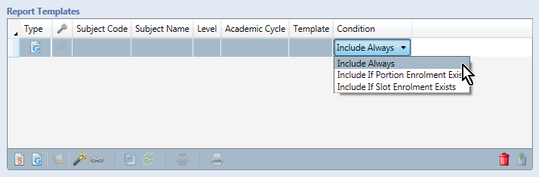
| • | Select the condition that applies to the particular general template from the dropdown list in the Condition column, ie whether the general template is to always print, or only if the student has a subject in the portion or slot. |
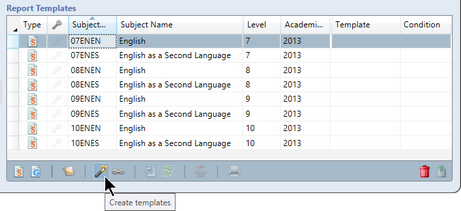
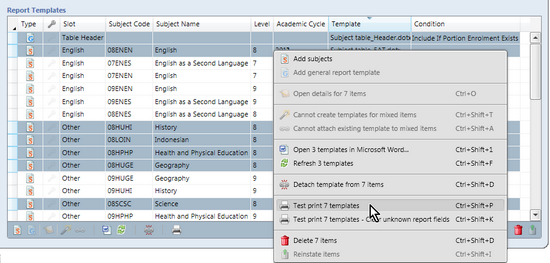
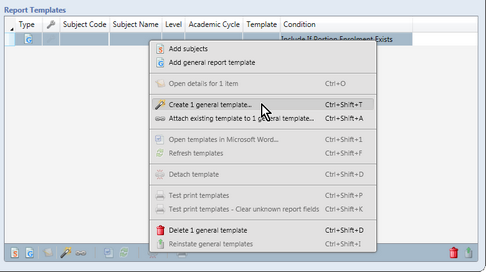
| • | Click in the new general template row and then click the Create templates icon or right click and select Create 1 general template. |
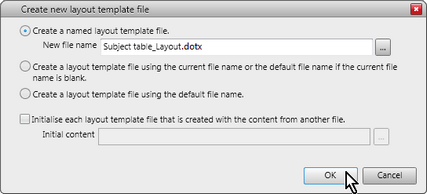
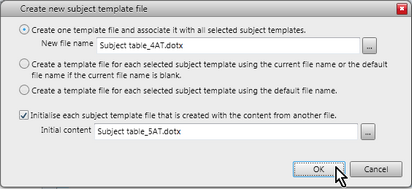
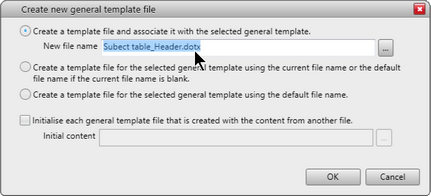
| • | In the Create new general template file box that appears: |
| ➢ | Accept the selected option and suggested name or choose another name that clearly identifies the general template, especially if there are to be multiple general templates in the report run. |
| ➢ | If the new general template is to be based on a template that has already been created, tick the Initialise checkbox and click the Browse button to select the already-existing template on which the new template is to be based. |
| ➢ | Click the OK button and wait while the general template is created and its name appears in the Template column of its row. |
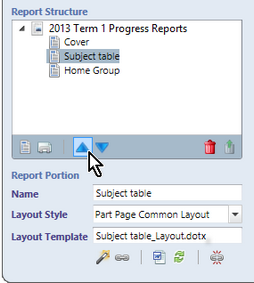
| • | With the general template highlighted, click the Open templates in Word icon at the bottom of the Report Template table. |
OR
| • | Double click its template name. |
| ➢ | Set up the body of the general template, inserting text, tables, and other Word formatting as required. |
| ➢ | Insert Accelerus fields in the locations where you want replacement data to print, eg the student’s name, the report run name, etc, keeping in mind that no subject-specific fields are available in general templates. |
| ➢ | Save and close the general template when finished. |
|