Overall, the procedures for adding new roles are similar. However, there are some extra steps that must be followed in the case of school roles. Therefore, the steps below diverge and you must follow those appropriate to school roles or all other roles:
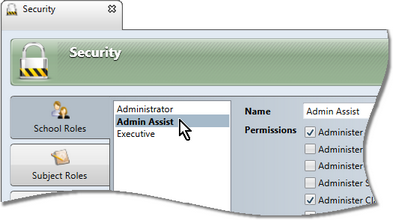
| • | Go to the Tools menu and select Security. |
| • | In the Security window, click the tab for the type of role you wish to add. |
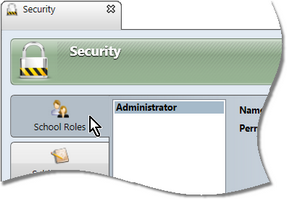
Note that, in the case of the School Roles tab, a role of Administrator will already exist.
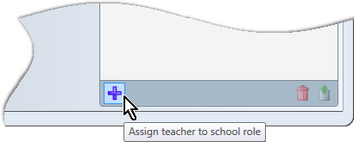
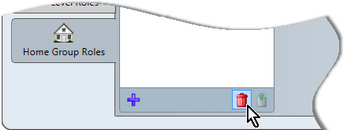
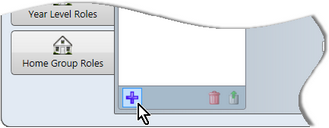
| • | In the tab of the role type required, click the Add icon at the bottom of the role pane. |
| ➢ | In the middle panel of the School Roles tab, enter a name for the role. |
This may be up to 80 characters long and use any characters.
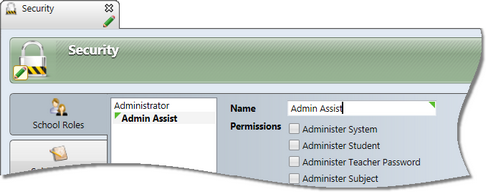
| ➢ | Click the Permissions checkboxes that are to apply to the role, hovering over a permission to reveal a tooltip informing you of the meaning or extent of access of the particular permission. |

| ➢ | If the teachers for the school have already been added to the database, assign teachers to the new school role as follows: |
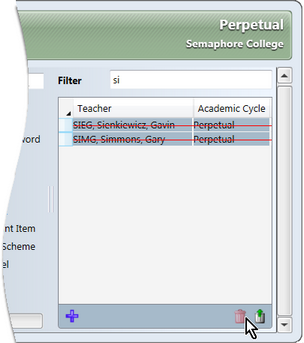
| ® | At the bottom of the panel on the right, click the Assign teacher to school role icon. |
| ® | In the Select teachers to add window that appears, find and select the teachers that you wish to add to the role. Standard procedures for finding and selecting teachers may be used. |
| ® | At the bottom of the selection window, select the cycle that determines the life of the role assignment. |
In most cases it will be perpetual, unless you want a particular teacher to only have access for a definite period of time, eg the current year. Otherwise, you will need to reassign the role each cycle.
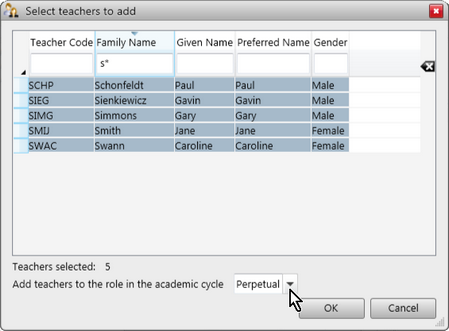
| ® | Click the OK button to add all of the selected teachers to the particular role. |
| ➢ | Add further school roles and/or assignments of teachers to roles, as required. |
| ➢ | Save the Security window by clicking the Save icon in the toolbar or pressing Ctrl S. |
| ➢ | In the right hand panel of the selected Roles tab, enter a code for the role. |
You may use alphanumeric characters or underscore, up to four characters long, eg TCH, TCH1, HGT, SCO, YLCO, etc.
| ➢ | Enter a name for the role, using any characters, up to 40 characters in length, eg Teacher, Teacher 1, Home Group Teachers, Subject Coordinator, etc. |

|
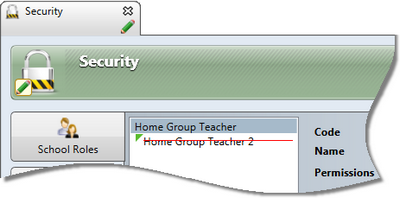
Only one teacher may be assigned to each role in subjects, classes and cohorts. Therefore, where more one than teacher needs to be added to a subject, class or cohort, you must set up multiple roles. Each of these roles within the one role level must have a unique code and name.
For example, if you have some classes taught by two teachers, you need to set up two class roles. You cannot code or name the roles the same. Therefore, you cannot have the name Teacher twice, but must assign unique names such as Teacher 1 and Teacher 2, to codes TCH1 and TCH2, perhaps.
|

| ➢ | A default set of Permissions will be checked. Make any changes to these, if required, hovering over a permission to reveal a tooltip informing you of the meaning or extent of access of the particular permission. |
| ➢ | Add further roles for this and the other role types, using the same steps. |
| ➢ | In the case of roles in the Teacher Roles window, where more than one has been added, move the roles into the required order by: |
| ® | Clicking the role you want to move. |
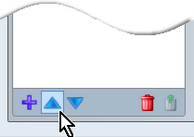
| ® | Clicking the appropriate one of the Move up or Move down icons until the role is in the required position. |
The order that the class roles appear in the Class Roles tab is the order that they will be organised in the Welcome Screen, when a teacher has more than one class role.
| ➢ | Save the Security window by clicking the Save icon in the toolbar or pressing Ctrl S. |
| ➢ | Teachers may now be assigned to the roles via the appropriate subject, class and cohort windows, or they may be added to their roles when importing CSV files of these entity types. |
|


