Accelerus is a very visual program, with colour and graphics used throughout to make its use more intuitive and simpler. When navigating through Accelerus, a set of common principles apply across the board. It is worth becoming familiar with these in order to make your work in Accelerus easier and more efficient.
Whatever window you are in in Accelerus, and whether you are logged into the database or an offline file, or you are working as an Accelerus administrator or a teacher, certain features will always appear.
# |
Feature |
|---|---|
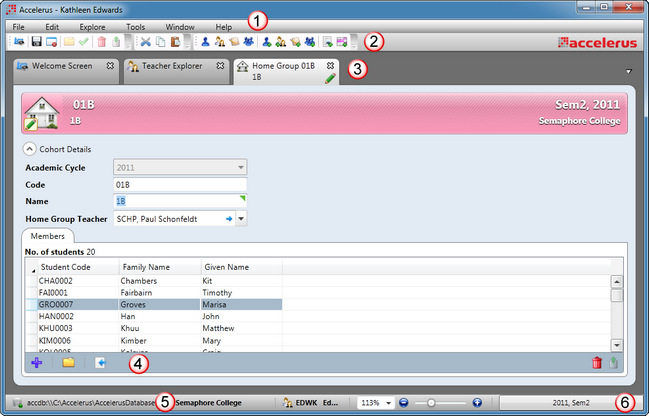
1 |
A menu bar will always be found at the top of the screen. However, all menus will not be available to all users or all situations. For example, above, Explore and Tools menus are available, but these only appear if you are logged into the Accelerus database and you have school level privileges. |
2 |
Below the menu bar is a toolbar, containing shortcut icons which may be selected as alternatives to menu options. The toolbars and the icons available will vary, like the menus and their options. |
3 |
Every record or process you open in Accelerus opens in its own tabbed window. You can have as many windows as you wish open at the same time, with each window's tab arranged along the top of the Accelerus screen. |
4 |
Most windows will have a panel along their bottom edge that contains further shortcut icons for functions that apply specifically to the open window. |
5 |
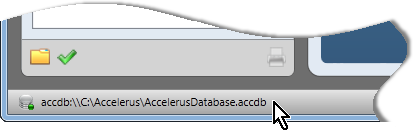
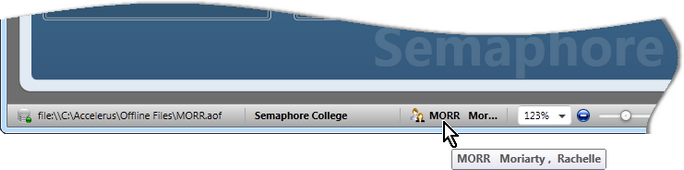
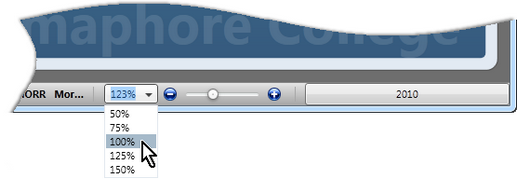
Along the bottom of the Accelerus screen is a status bar that displays whether you are working in a database or offline file and the location of these; the name of the school and the logged in user; zoom controls; and the Academic Cycle Selector. |
6 |
The Academic Cycle Selector displays the currently selected academic cycles which determine what data is displayed and available to the user. |
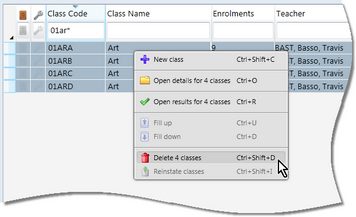
A menu bar and toolbar will be found at the top of the screen in Accelerus. The shortcut icons may be used as an alternative to menu options. The menus and their options, and the shortcut icons, will vary:
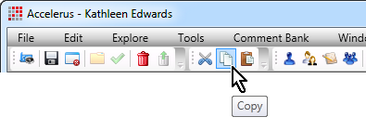
However, some menus are available for all users, even if the options thereon vary. These are File, Edit, Window and Help. Similarly, with the toolbars, some shortcut icons will be available in most windows in Accelerus, eg icons allowing you to open the Welcome screen, to save, cut, copy and paste, etc. Some of the important aspects of the Accelerus menus and toolbars to note are:
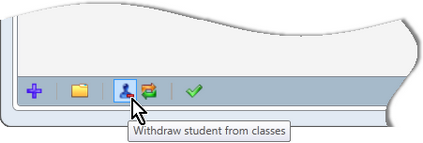
For example, below is the set of shortcut icons available when in a student window.
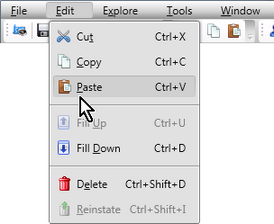
The keyboard shortcuts are shown on each menu, as shown below - Ctrl X for Cut, Ctrl C for Copy, etc. The Alt keys - the underlined letter in menus - appear when you hold down the Alt key on your keyboard.
|
The status bar contains very important and useful information:
|
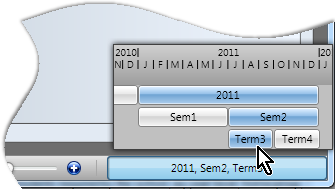
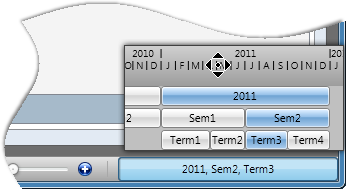
The status bar in Accelerus is very important and perhaps the most important part of it is the Academic Cycle Selector, found in the bottom right-hand corner. What is selected and displayed there determines the data that you view and are able to edit at any point in time.
In the example above, the academic cycles 2011, Sem2 and Term3 are currently in force. Therefore, for example, only subjects that have been assigned one of these academic cycles will be displayed, whereas those belonging to 2010 or Sem1 will not be found in the Quick Find pane or the Subject Explorer. The cycles selected by default in the Academic Cycle Selector when you run Accelerus will depend on the default system date setting found in the School Settings window, as set by the Accelerus administrator. For example, it may be set to open by default at the cycles active at the current date. When a user logs directly into the Accelerus database, all academic cycles are available to them. For example, they may go back and view data from a previous year or semester. However, when teachers are working in offline files, the set of available academic cycles may be restricted. A set of Synchroniser date range fields in the School Settings window determines the range of academic cycles that teachers have available when in their offline files. The Academic Cycle Selector works as follows:
All other cycles that overlap the selected cycle will be selected also.
|