To add student custom properties to your database so that you may record additional information about students:
| • | Ensure you already have an appropriate marking scheme for each custom property you wish to add. |
If you do not, add these via the Marking Scheme Explorer.
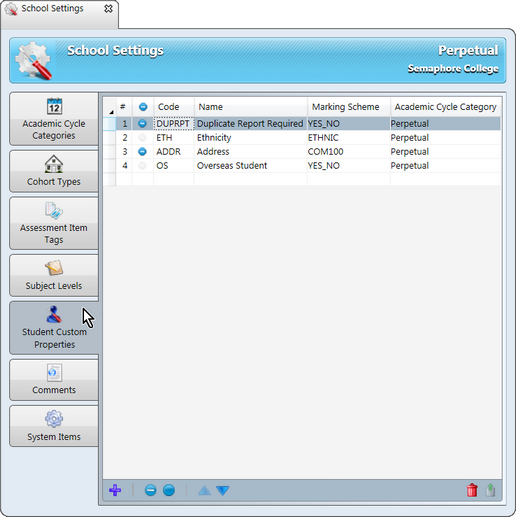
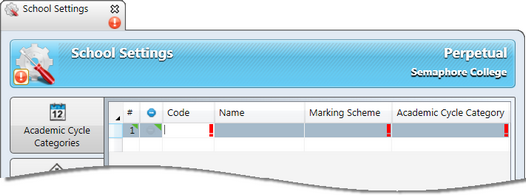
| • | Go to Tools > School Settings. |
| • | In the School Settings window, click the Student Custom Properties tab. |
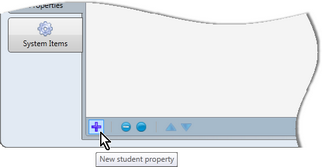
| • | Ignore the first two columns in the table and, instead, double click in the code field of the first blank row of the table. |
OR
| • | Click the New student property icon. |
| • | In the row for the custom property: |
| ➢ | Type in the code that you wish to assign to the custom property. |
This may be up to 8 characters in length and use alphanumeric characters or underscores.
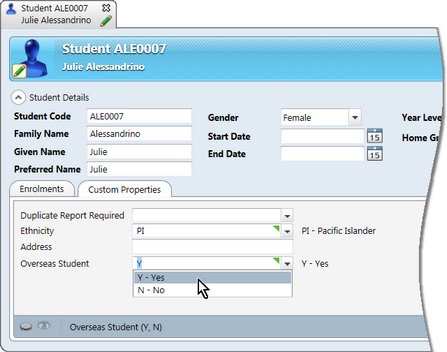
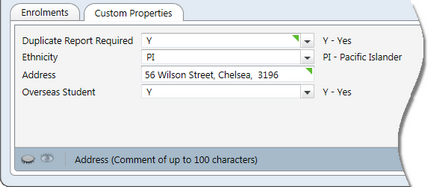
| ➢ | Enter a name or description. |
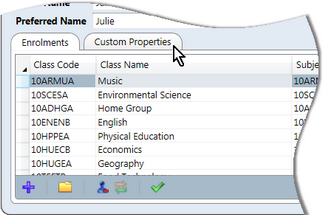
This will be displayed in the Custom Properties tab of each student record in order to identify the property.
It is recommended the codes are entered in upper case but the name in proper or sentence case.
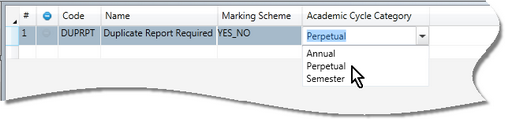
| ➢ | Double click in the Marking Scheme cell to display a dropdown arrow and select from the dropdown list of available marking schemes. |
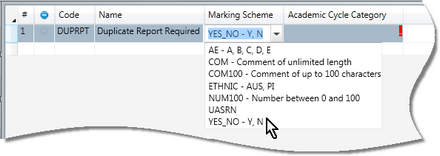
OR
| ➢ | Begin typing the name of the marking scheme to display the options that match in the marking scheme dropdown list. |
| ➢ | Using either of the above methods, select the academic cycle category that applies. |
Note that this the category is most likely to be Perpetual, ie the value does not change every cycle or year for each student.
| • | Continue adding more custom properties in the same way, as required. |
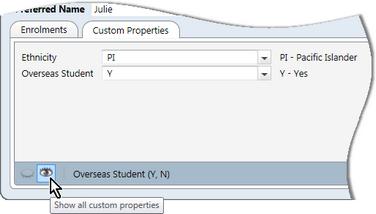
| • | If you want to restrict any custom properties so that they are only visible to those who have a school role with the appropriate privileges: |
| ➢ | Click anywhere in an individual row that you want to restrict. |
| ➢ | If more than one row, hold down the Ctrl key or Shift key while clicking to select multiple or contiguous rows, respectively. |
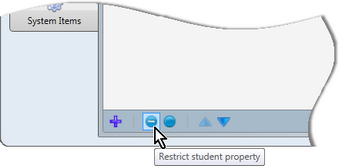
| ➢ | Click the Restrict student property icon. |
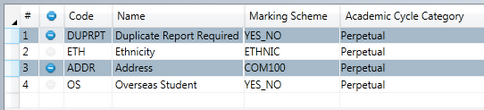
The selected rows will now have a restriction symbol in their second column, as shown below.
| • | To remove the restriction from any custom properties, select the rows in the same way as in the previous step, but click the Make available icon instead. |
| • | If you want to change the order of the custom properties, you may do so by: |
| ➢ | Clicking anywhere in an individual row that you want to move. |
| ➢ | If more than one row, hold down the Ctrl key or Shift key while clicking to select multiple or contiguous rows, respectively. |
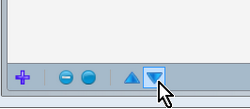
| ➢ | Click the Move up or Move down icons, as appropriate. |
Note that where more than one row has been selected, you will only be able to move up until the topmost row selected has reached the top of the table. Likewise, you may only move rows down until the last of those selected reaches the bottom of the table.
| • | To delete any custom property rows added in error, select the rows, in the same way as when restricting or moving them, and use the Delete icon in the bottom right corner. |
| • | Click the Save icon and exit the School Settings window. |
|