The major purpose of single student view is to allow teachers to compose comments for their students and, in the process of so doing, draw upon banks of comments that have been set up by the school, their subject coordinators or themselves.
Some of the time saving features in single student view when using comment banks include:
| • | The student’s name will automatically be displayed in the comment bank’s comments, using the correct format, ie given name or preferred name, as specified by the Accelerus administrator in the School Settings window. |
| • | The correct number of spaces between sentences, as set in the School Settings window, will be automatically inserted between each comment selection. For example, if your school has selected one space between sentences, when you select two comments consecutively, one space will be inserted between the two comments. |
| • | Where a comment that is inserted starts with a capital letter, a full stop, if missing, is inserted at the end of the comment before. |
| • | The substitution mode resets to Name mode when the comment field is blank, but once there is text in the field, it automatically switches to Pronoun mode. |
| • | When working on a particular comment, as you move to the next student, the cursor automatically moves back to the comment you had been working on. This means it is unnecessary to click in the comment cell to work on and select a comment for the next student. |
Steps to draw on comments
| • | To write a comment for a particular student, when in a class or subject results window, click in the student's row in Results Grid View . |
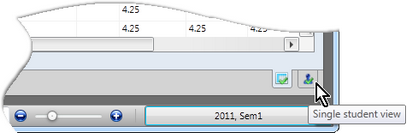
| • | Double click in a comment cell or click the Single student view tab in the bottom left corner, as shown below, or press Ctrl T. |
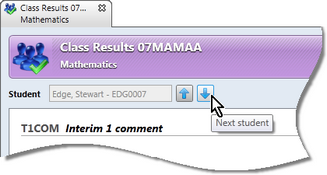
| • | If not already selected, click the up or down arrow beside the student’s name field to move to the student for whom you want to compose a comment. |
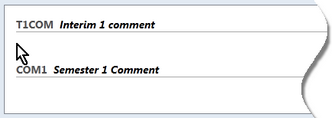
| • | Click in the comment box in the top half of the window in which you want to compose a comment. |
The status bar or, where visible, the bottom pane will give details of the particular comment.
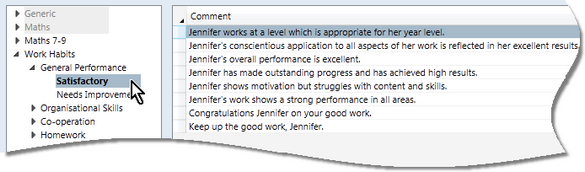
| • | Reveal the comments required: |
| ➢ | Click the arrow beside a comment bank to reveal its categories, or double click its name. |
| ➢ | Click open any categories to reveal the values for the categories, by double clicking the category name or clicking its arrowhead. |
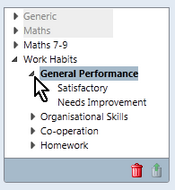
| ➢ | Highlight a category or value to reveal its comments in the comment table. |
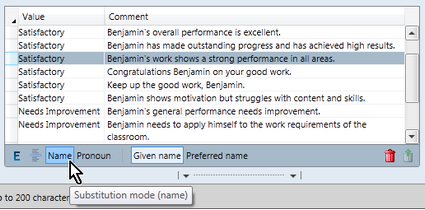
| • | Select the substitution mode |
| ➢ | If not already showing, if you want the comments in the comment bank to show the student’s name, click the Name substitution mode button, eg Benjamin's work shows ... |
OR
| ➢ | Click the Pronoun button to toggle on pronoun mode, eg His work shows ... |
| ➢ | If your school allows teachers to use either the student’s given or preferred name in comments, click either the Given name or Preferred name icons. |
These are not visible when a school has set the comment name format to one or the other options and not allowed teachers to change this format.
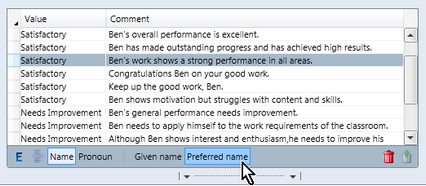
As seen above, the comments show the student’s preferred name, Ben, rather than Benjamin.
| • | Double click the comment in the table that you want to assign to the student. |
| • | Make any modifications that you wish to make to the composed comment in its comment box. |
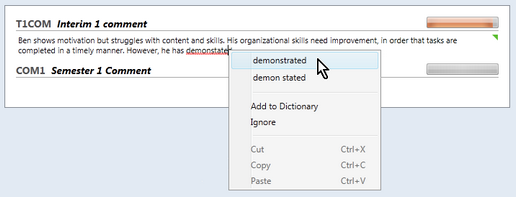
| • | Right click over any potentially misspelt words – those with squiggly red underlining – and select the correct spelling or add the word to the dictionary. |
| • | Click the Save icon or press Ctrl S to save your work as you proceed. |
| • | Continue adding comments for the same student or move to the next student, as required. |