 For each of the different Printed Fields sections, you may choose from one of three print layout formats, each of which has particular requirements. For example, the Group 1 Header fields may simply need to be printed in a continuous line, whereas a columnar format is required for the Detail Section. For each of the different Printed Fields sections, you may choose from one of three print layout formats, each of which has particular requirements. For example, the Group 1 Header fields may simply need to be printed in a continuous line, whereas a columnar format is required for the Detail Section.
This option takes all of the fields which have been inserted in the Printed Fields section, and using the field width set for each field, prints them across the page in tabular form, one line per record.
With this format, any line breaks or page breaks inserted in the Printed Fields section will be ignored.
This format would be used when there are only a few fields in the Printed Fields section, or all the fields are able to fit across the page.
It is the format that is assigned by default to the Printed Fields of the Detail Section, as shown here.
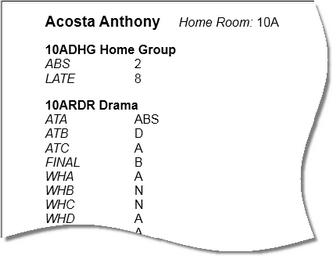
This option is the most compact of the three available. It prints the fields in the Printed Fields section continuously, one immediately after the other, on the same line, wrapping around to the next if they do not fit on the one line.
If you have ticked the Space between fields box, each printed field will be separated from the next by a single space.
This option, with the Space between fields checkbox ticked, is the default format for all Group Header and Group Footer Printed Fields sections.
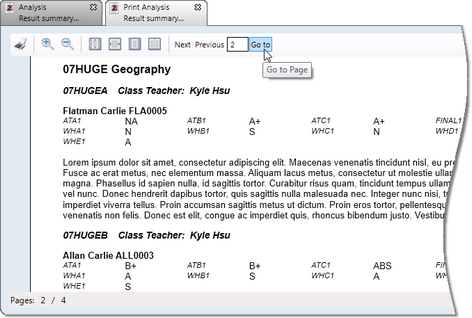
In the sample print out shown to the right, all of the headings use this format.
The Print continuous fields option ignores the field width and the alignment settings of the individual fields in the particular Printed Fields section. Each field is printed strictly in accordance with the length of the text found in it, and the printed text is always left-justified.
Therefore this option is very compact and would be useful for archival purposes, in particular.
Line breaks may be inserted in this layout option so that, instead of it printing continuously, one record after the other, each begins on a new line.
| • | Print continuous fields in columns |
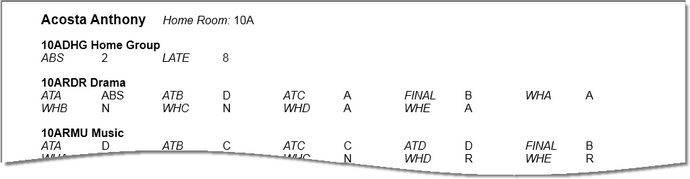
The last Print layout option will print the data across the page in equal-sized columns, based on the number of columns you have inserted in the Columns across the page box.
Generally, the number of columns across the page should be a multiple of the number of fields in the Printed Fields section. For example, if printing students’ non-comment results, using just the assessment item code and entered result for each, a multiple of two would be used.
An example of this format is shown below, where 10 columns are printing across the page, allowing five sets of assessment item codes and results to print per line.
The field width and alignment settings of any fields in the Printed Fields section will be ignored by this layout option. The columns will be automatically sized in order to fit equally across the page and will be printed left-justified within these columns.
If any data does not fit into the column, it will continue to be printed across columns until fully printed, with the next field beginning in the next available column.
Line and page breaks entered in this format will be inserted into the print out.
|
 Generally, you will want to output your data in an orderly or grouped manner. For example, the data you are extracting may be the results for a set of students. It is most likely you will want the results belonging to the same student to be printed out together and not mixed in with other students. Also, you will most likely want the results for the same student to be further grouped together by class and not have results for different subjects intermingled.
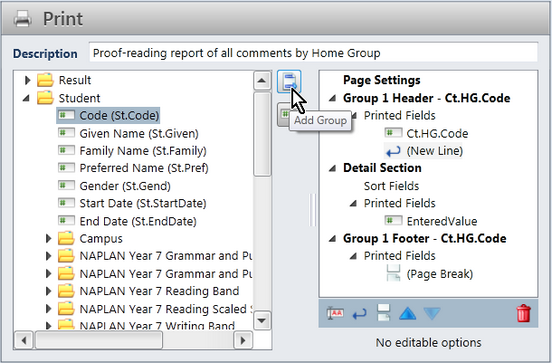 When setting up and working with groupings in the Print operator, note the following:
 Selecting a field to group by means you are also selecting the sort mode for the Group. For example, if you have grouped by the Student code field, then the records will come out in student code order; if you group by gender and the females will print first, followed by males, and so forth.
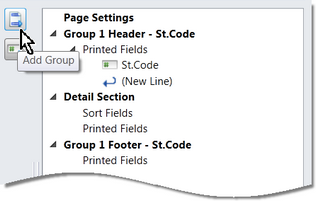
 The Detail Section of the layout pane is always the innermost loop, the heart of the report layout, where the details for each distinct record are printed. It is made up of two sub-sections into which fields may be inserted:
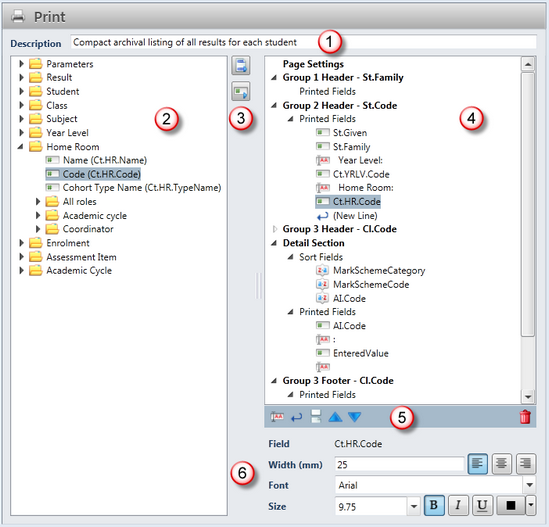
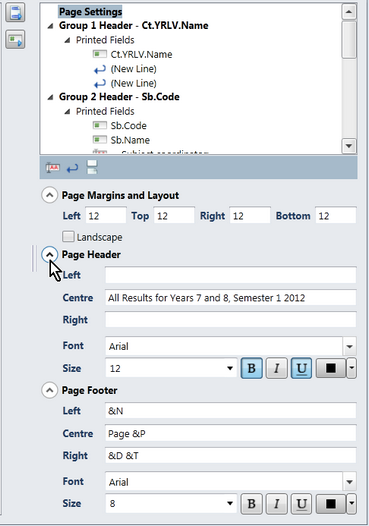 When you click the Page Settings heading, at the top of the layout pane in the Print operator, three property sections become available, allowing you to format your report pages. These settings apply to the whole report print out.
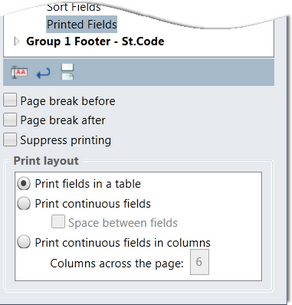
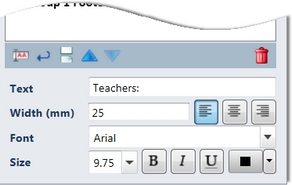
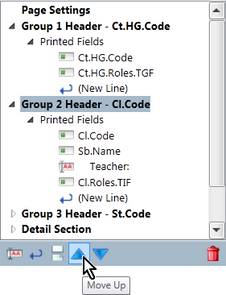
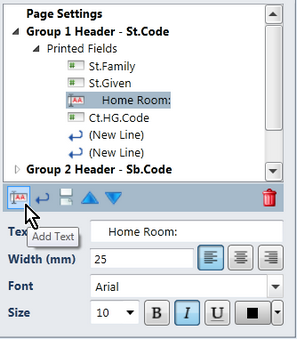 Although the majority of fields inserted into the various sections of the Print operator's layout pane are database fields, selected from those available in the fields pane on the left of the operator, you may also insert user-defined text fields into a report layout. For example, if printing out a teacher’s name, you may wish to precede it with a label, eg Teacher:, or you may use text fields for column headings.
 You may insert line or page breaks in any Printed Fields section in the layout pane.
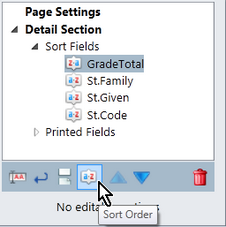
 Fields that have been inserted in any Printed Fields section may be moved up or down within the section by clicking these icons. They may not be moved to another Printed Fields, eg from one group header to another or to the Detail Section.