The second stage of report production, once the setup stage has been completed in the Prepare Report Run window, is the printing of reports. All of the print processes are undertaken from the Print Report Run window.
The Print window contains a wide range of features to allow you to select and output student reports, as well as control the print process.
The printing processes ensure that only reports for subjects in which a student is enrolled, which form part of the report run, will print. Students’ reports will print out in the selected order, and within each student’s report, the portions and subjects will print out as you have stipulated.
Opening the Print window
The Print Report Run window may be opened in any of the following ways:
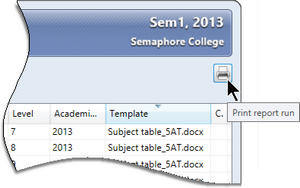
| • | From the Prepare Report Run window, by clicking the icon in the top right hand corner. |
| • | By selecting File > Print Report Run and then selecting the report run you want to open. |
| • | From the Quick Find pane, by right clicking over the report run required and selecting the Print Report Run option. |
| • | From the Report Run Explorer, by clicking the Print report runs icon in the bottom left corner, once you have selected the report run you want to print. |
The Print Report Run window
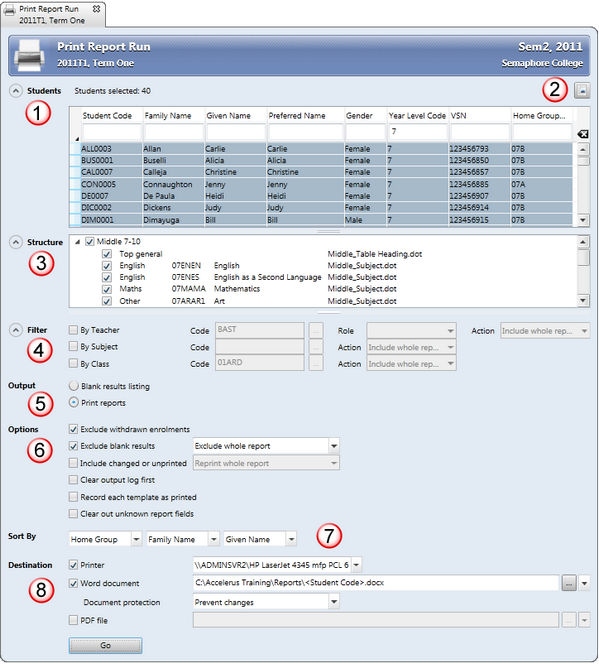
This window is made up of several sections, many of which may be contracted or expanded as required, or totally hidden:
# |
Section |
|---|---|
1 |
The Students table is where selection criteria may be entered and most of the features of the Explorer windows may be used to identify and select the students whose reports are to be printed. You may open any student records directly from this table by double-clicking a student's row. |
2 |
The icon in the top right corner allows you to go directly to the Prepare Report Run window for the currently-displayed report run. |
3 |
The Structure section is hidden by default but when it is opened, it displays the portions, slots and subjects that apply to the students selected. For example, if printing just students in one year level, then only the subjects for that year level will appear under the applicable portions and slots. From here, individual portions and subjects may be excluded by deselecting the appropriate boxes. |
4 |
The Filter section allows you to print or exclude particular reports shown in the Structure section, for the student’s selected, based on criteria about the teacher, subjects or classes. |
5 |
The Output section allows reports to be printed or a blank result listing to be produced, for the selected students and structure components. |
6 |
The Options section includes several checkboxes to control what is or is not output, eg whether the reports for subjects from which students have been withdrawn are to be included or not. Several of the checkboxes must be used in conjunction with each other to keep track of reports that have or haven't been printed. |
7 |
Using the Sort by section, the reports of the selected students may be sorted by up to three fields, eg by Home Group, then alphabetically on the basis of the student’s family name, and so forth. |
8 |
The Destination section allows you to output the reports to a printer, a Word document or to a PDF file. When the destination is to a Word document or PDF file, you specify the location and name format of the files. You may select multiple destinations, in the one print run, if you wish, eg to printer and Word document at the same time. In order to be able to print to a PDF file, Word must be set up to allow documents to be saved to PDF. |